I was recently asked to create a button with different visual states — normal, hover, and pressed. My first thought was to use a standard command button from the Developer tab. However, those buttons are rather bland and have that clunky 1980s PC look.
I then recalled a couple of techniques I’ve used before to update slide content dynamically — either pulling data from a table or from another shape. Both are flexible approaches. The method I’ll show here uses a table — it’s simple, and with a bit of creativity, you’ll quickly see how this can be extended to build much more interesting interactions.
The Process:
On any slide create a shape I've put mine on the first slide hence in the script it reads
ActivePresentation.Slides(1) when I refer to the path of the shape. You can change the number if your shape is on a different slide. Once you create your shape in the Selection Pane rename your object to myButton or something else that you can remember easily later.
Then create another shape and make it larger than your button and send it behind your button by right-clicking and sending it backward. Alternatively, use the selection plane and re-order it so that it is behind the button. You should have something set up like this
Later you can change the second shape to be transparent or the colour of your background.
Next, add a table 2 rows by 3 columns to the very bottom of the slide place it outside the viewable area.
Add to the top row the words you want for each state. You can leave this if you just want the colour only. In the second row add the individual colours for each state. Name it something you will remember later
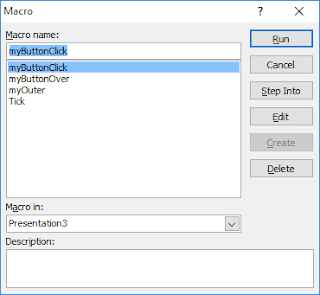
Now create 3 macros by choosing the Developer tab and Macros. Name the macros so that you know what they do.
Add one extra macro called Tick. This will be used later to add a short pause to the button so that the down state can be seen momentarily.
Now in the VBA script copy the code below.
Now select the button and choose Insert > Action
For the Mouse Click choose myButtonClick, for the Mouse Over choose myButtonOver. Then choose the shape you made for the back and choose myOuter as the Mouse Over option, don't add anything to the Mouse Click.
Now your button should work like this.
I'm sure the creative among you will find lots of great things to use this for. By the way, you can add the code to the myButtonClick script to do all the other things you need to have happen when the button gets clicked.


Comments
Post a Comment